

This page is a permanent link to the reply below and its nested replies. See all post replies »

NativePortlander1970 · 51-55
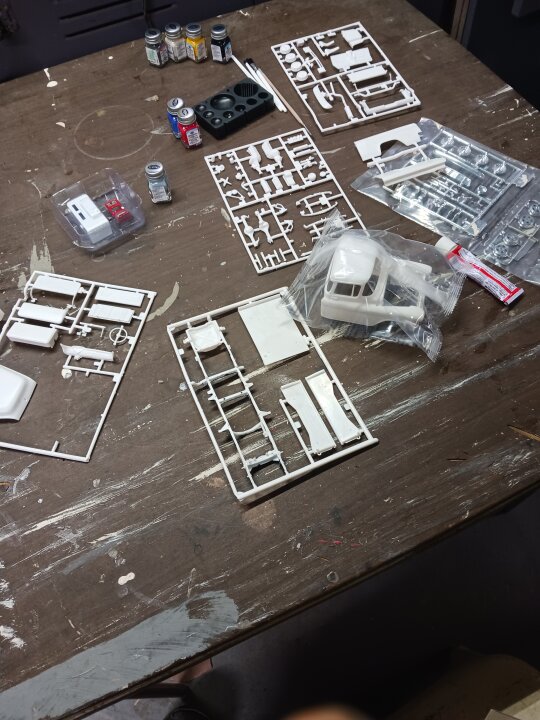
My dead uncle was obsessed wirh models, he started collecting then in 1951 at the age of six. By 1991 at the age of 46, he had a 15x15 storage unit packed with boxes of finished models as well as parts, in 1993 he spent $125 on a model sold in 1963 at a trade and collector's show, just for the hubcaps to put on a different model. Here's some secrets to a good model.
1. Scrape the chrome off areas that are going to be glued.
2. Barely apply a small drop to both pieces to be glued.
3. Do not twist the parts off, use what are called side cutters, you can get them off Amazon, I'll include a link.
4. After cutting the part off use 600 grit hobby sandpaper to smooth the crimped cuts.
5. If you're going to paint the model, use 1,200 grit sandpaper to rough the surface.
6. When painting do it outside with no wind, lay it down on cardboard with at least 12 inches on all sides, and sweep the spray can from side to side in one motion, press the nozzle on within two inches, and depress the nozzle after two inches, spray the model body before you put it on the chassis.
https://www.amazon.com/IGAN-P6-Precision-Clippers-Spring-loaded-Handmade/dp/B087P191LP/ref=mp_s_a_1_1_sspa?crid=TQUWS2PRC5TB&keywords=side+cutters&qid=1703304235&sprefix=side+cutters%2Caps%2C138&sr=8-1-spons&sp_csd=d2lkZ2V0TmFtZT1zcF9waG9uZV9zZWFyY2hfYXRm&psc=1
https://www.amazon.com/Sandpaper-Automotive-Polishing-Furniture-BAISDY/dp/B07D2YYC11/ref=mp_s_a_1_4?crid=2AVEMT0F52SVR&keywords=600+grit+hobby+sandpaper&qid=1703304313&sprefix=600+grit+hobby+sandpaper%2Caps%2C135&sr=8-4

NativePortlander1970 · 51-55
@kodiac You're so very welcome. Another piece of advice, if you don't want to get stoned while building your models, go with the blue tube instead of the red tube, but, it takes longer to dry and isn't as strong, the red tube causes slight intoxication from the fumes, I recommend a painter's mask from Walmart if you choose using that one being the best way to avoid it the best you can.
kodiac · 22-25, M
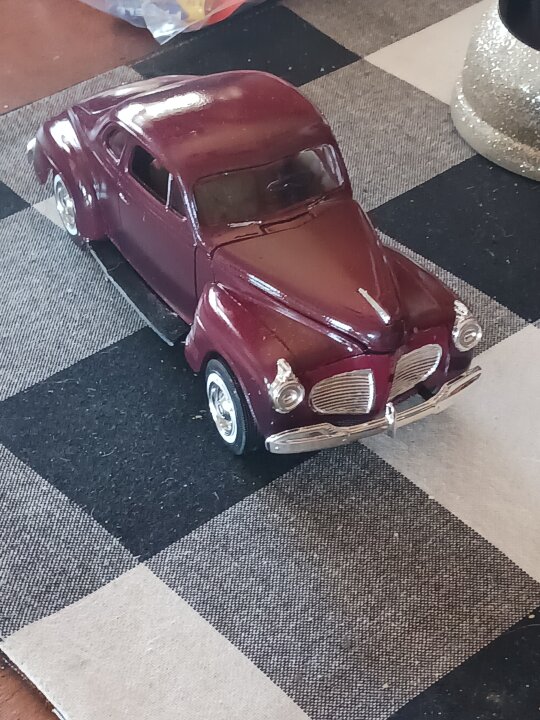
@NativePortlander1970 One thing i learned the hard way, i have the sprue cutter but didn't hold the spring as i cut it off flew off into god knows where lol so i replaced the front springs with actual coil springs i made from ink pen springs works perfect and gave a little height to the front on the Plymouth coupe.
NativePortlander1970 · 51-55
@kodiac Yeah, springs are mischevious little fuckers for sure. My trick for those was to take one of those business card magnets you get at places, tape it to a ruler, and pass it along the carpet you think it flew to, nine out of ten times I'd find it.